So I’m still working on learning G.I.M.P., and the whole process of creating book covers with graphics software of good quality, not with PowerPoint, which is borderline-suitable for e-book covers but not for print books. I downloaded the program, and at first sat there stunned at what I was looking at on the screen. Three windows, not touching each other, and no idea of what to do next.
As I’ve told people before, the only two things you really need to know about software is how to open the program and how to get help. I had the program open, and I had downloaded the user’s manual, so I opened that and started reading. The first twenty pages were about how the program came to be, who the creators were, and how to use it with various operating systems. Someone needs to know all that, I suppose; I just wanted to know how to create a book cover.
Eventually I came to some things I needed. How to create a new graphic image. How to manipulate the graphic once you had it open. I must confess to some impatience on my part. I didn’t read all that far into the manual before going back to the program and proceeding. I don’t know which way would have been faster for me. Normally I learn well from written instructions. The problem with these instructions, however, were they weren’t really explaining things. They assumed someone understood certain terms they were using. But I didn’t. So I decided to just dive in with the menu system and see what I could accomplish.
Slowly, mistake by mistake, my cover for the print version of Thomas Carlyle’s Edinburgh Encyclopedia Articles began to come together. Fortunately G.I.M.P. has very good “un-do” features (and re-do as well) that allow you to see exactly which step it was you did incorrectly and go back to how it was before that step. A lot of things I didn’t understand. Often I had to erase things I’d done and start over. Eventually I did ok, created the cover, submitted it, and CreateSpace said it met all specifications for a print cover. The first time! Yea!
Last night, with three-year-old grandson Ezra in the house (the third night now), I didn’t expect to get much done. But another cover I had to work on was for The Gutter Chronicles. Not a print cover right away, but an e-book cover. Smashwords didn’t like the one I had, and wouldn’t distribute the e-book to their premium catalog. Thus it won’t be for sale at places such as Barnes & Noble, Apple, Kobo, and others. The cover was this.
I had wanted to show a computer screen with a little bit of office showing around it, and the words of the book title and author name on the screen. I put the words on the screen, in the largest font possible, and took a couple of photos at high resolution. Unfortunately, the flash obscured the words on the screen. I should have figured on that. So I sweet-talked the Spiff Lady in the office to do that cover for me, and used it as a place-holder for a future cover. Since I’m learning G.I.M.P., the future is now. So last night, after Ezra went to bed, crying, I headed to The Dungeon and got to work. I had uploaded the photograph I wanted to use to Dropbox. My plan was to just paste the words I wanted over the computer screen, on a white background, to cover over the flash image and make it look like a computer screen. Of course, the screen was tilted backwards a little, and the camera was at a horizontal angle to the screen. This mean I’d have to put in something other than a rectangle, and that the words should also show this dual perspective.
That was both more difficult and easier than I expected. I thought I would have to jump through many hoops to make that happen, but a writer friend, Veronica Jones-Brown, who has created a couple of covers for me, said that this should be on the Transform menu, probably as “Perspective”. Sure enough it was. It took me a while to figure out how to use it, but I started to get the hang of it. I created the opaque white layer, sized it to match the computer monitor in the photo, dragged it to where it needed to be, and pulled two edges into the perspective needed. It wasn’t perfect, but it was close. Then I typed the words, in five separate text layers so that I could drag them where I needed them to be. Putting them in the same perspective as the monitor turned out to be difficult, and I don’t have it correct yet.
The other problem I had was that the monitor was too small, relative to the size of the full cover, to hold all the words and make them readable at small size. They would be okay at full size, but not in a thumbnail. So I decided to pull my name off the monitor, and create a black layer under the monitor to serve as a nameplate. I pulled it into perspective—not quite exact yet—and pasted my name in and pulled it to perspective as well. By this time I was a little handier with this perspective thing and the name looks good. I saved the graphic, and exported it also as PNG and JPEG files, saving them all to Dropbox. Showed it to the wife on my Nook, and she liked it.
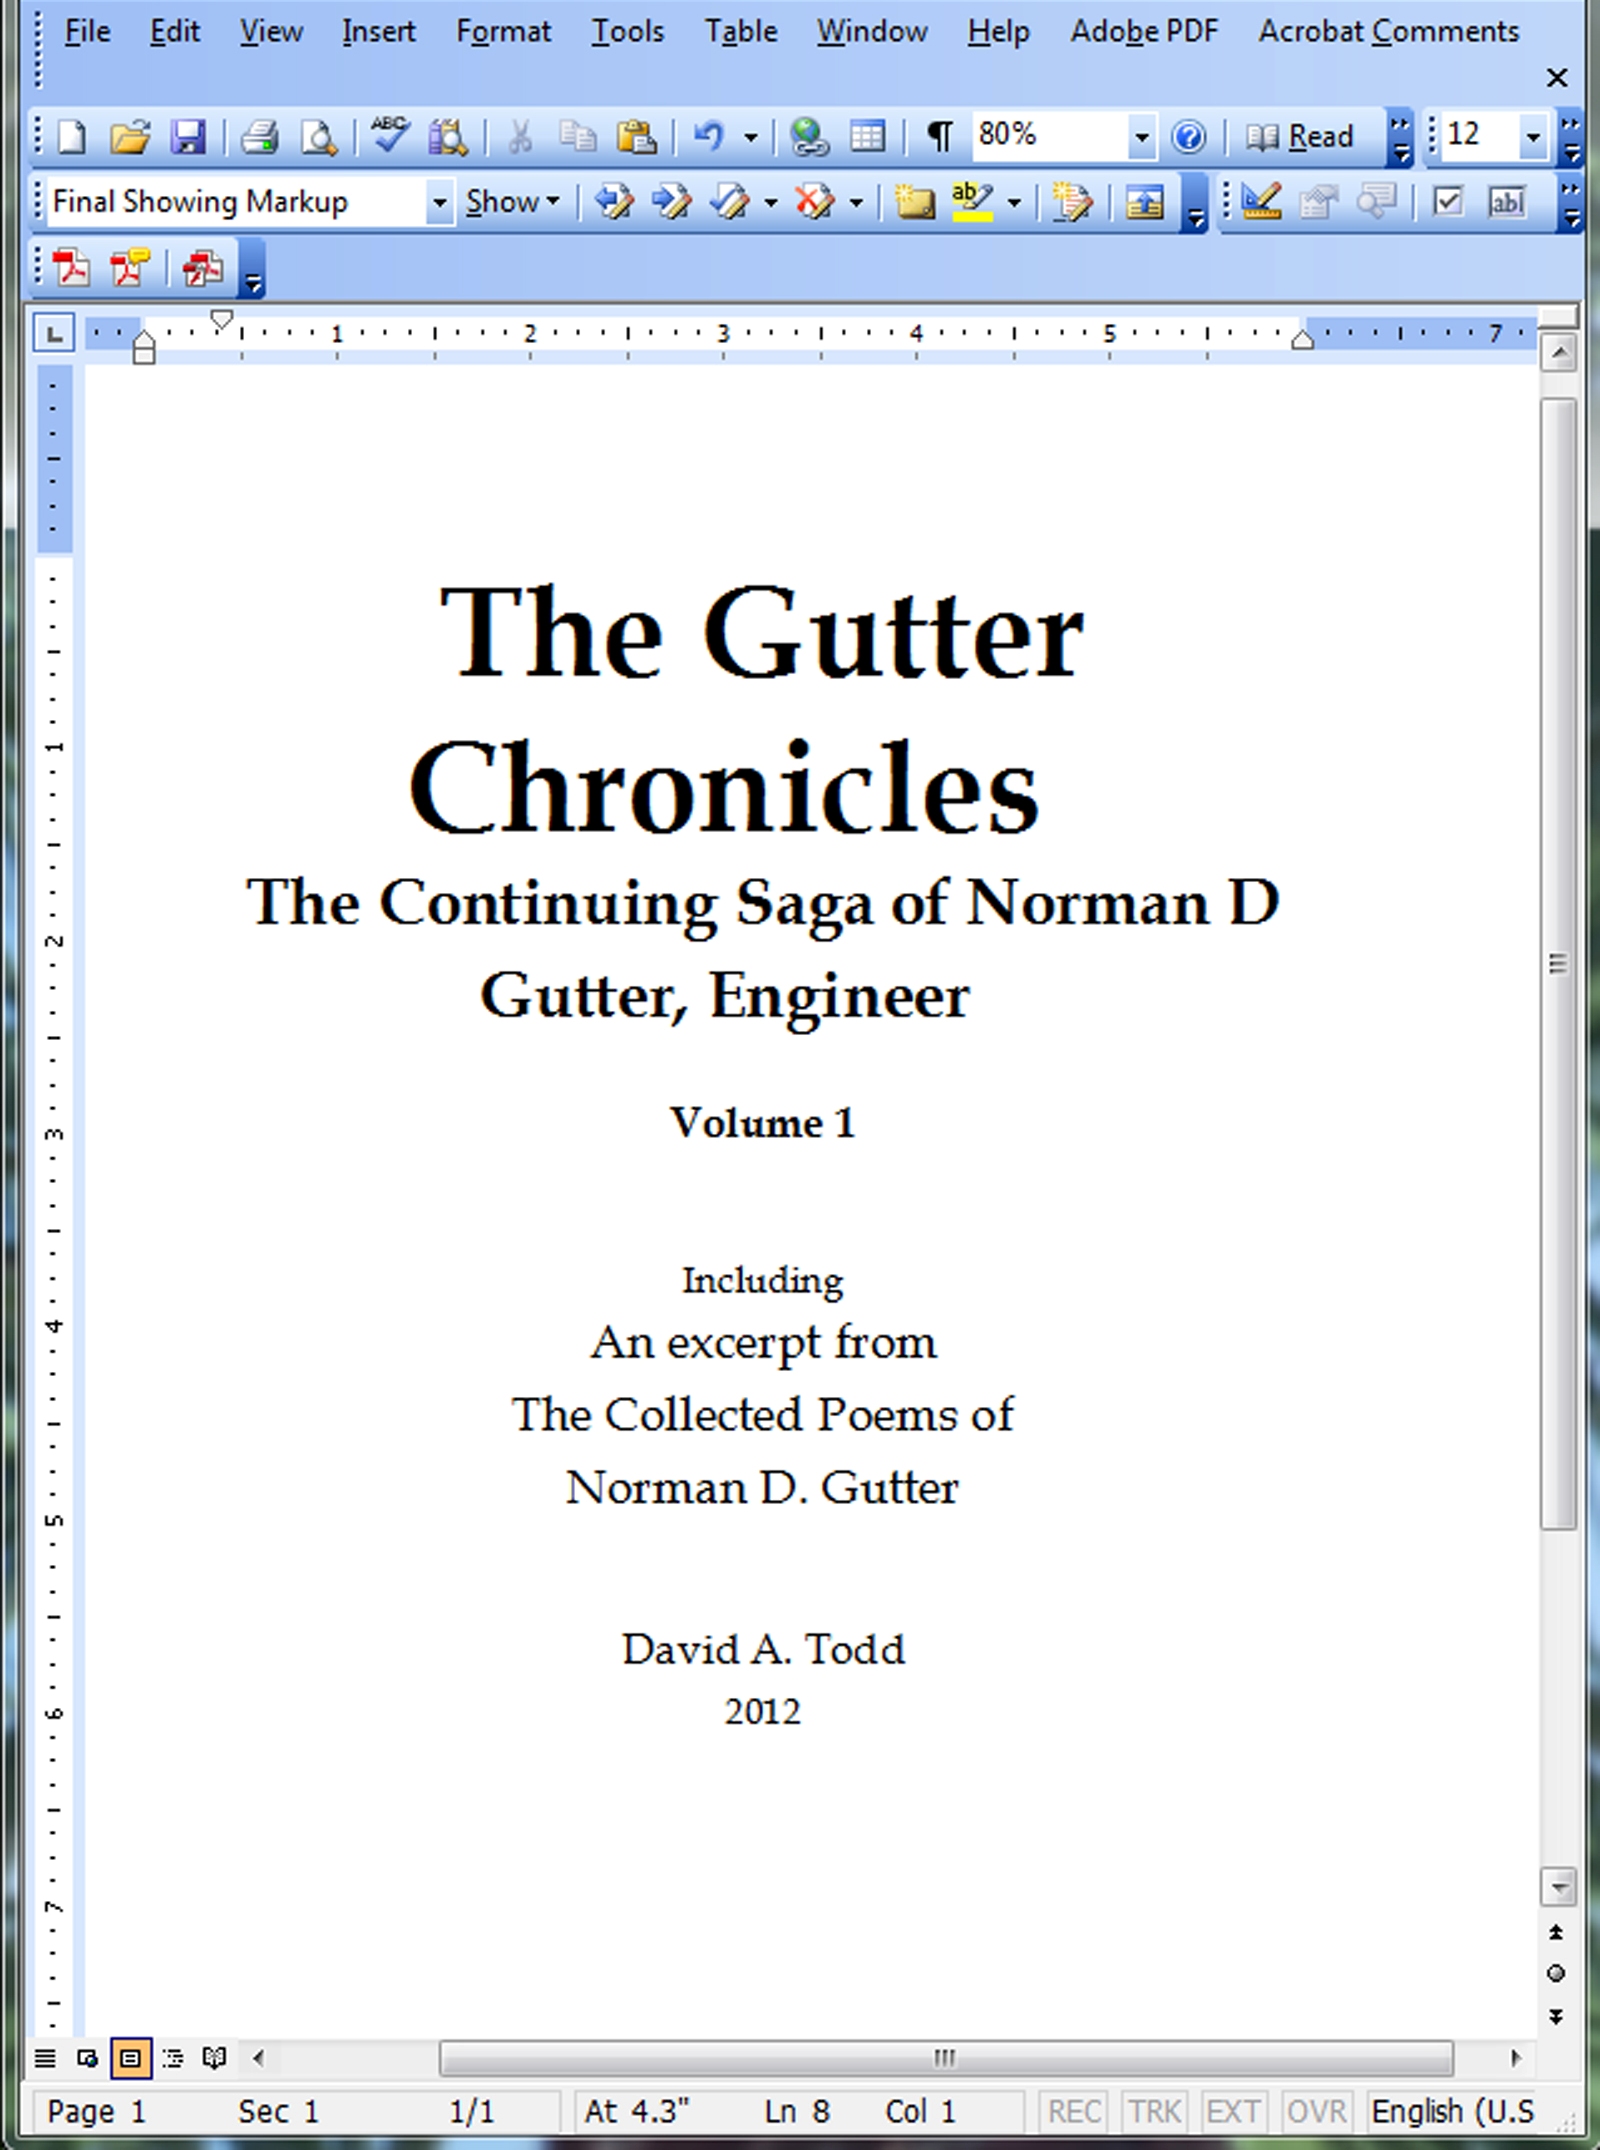
So, here it is.

It’s not finished yet. Tonight, or this weekend, as Ezra allows, I’ll have to tweak it in several areas. The white line along the right side isn’t supposed to be there, and I need to improve the perspective on most of the layers. But, at this stage of my cover creation “career,” I’m not unhappy with this.
One thing I decided to do, at the last minute, was add “P.E.” to my nameplate. Non-engineers won’t understand, but engineers will, and that’s a good chunk of my target audience.
🙂